Sibilant sounds, or esses, are a common problem in audio recordings and can often be difficult to eliminate or reduce without specialized processing. These harsh, high-frequency sounds are produced by certain consonant sounds such as “s,” “sh,” “x,” and “f” and are often present in raw vocal recordings.
To address this issue, audio engineers and professionals often use a technique called de-essing, which involves using a specialized audio processor known as a de-esser.
However, de-essing is not always as simple as applying a de-esser plugin to the audio signal. The human voice is one of the most dynamic instruments, meaning that different voices can produce different types of sibilant sounds.
This makes mixing vocal tracks particularly challenging, as the de-esser must be tailored to the specific characteristics of the audio signal being processed.
In addition, there are many different parameters to consider when using a de-esser, such as a threshold, ratio, and frequency range. This can be overwhelming, especially for beginners.
To help you navigate this process, we’ve developed a guide to de-essing, including best practices and tips for using a de-esser in your mixes. In this article, we’ll discuss everything you need to know about de-essing, including how to use a de-esser to craft clear, present, and sibilance-free vocal mixes.
What Is A De-Esser?
A de-esser is a standard audio processing tool used to reduce or eliminate sibilant sounds, also known as esses, from a recording or audio signal.
Sibilant sounds are characterized by their high frequency and sharp, piercing quality and are often produced by certain consonant sounds such as “s,” “t,” and “sh.” These sounds can be particularly problematic in vocals, as they can be harsh and overbearing and can distract from the overall sound of the recording.
De-essing reduces or eliminates sibilant sounds, also known as esses, from an audio signal. De-essers work by temporarily reducing the level of a specified frequency range when the loudness (usually a sibilant sound) exceeds a set threshold.
Using a De-esser to control frequencies is more effective than using an EQ to cut out problematic frequencies. A static EQ will continuously cut frequencies in the signal even when there is no sibilance.
De-essers can be thought of as frequency-dependent compressors, as they are designed to target specific frequency ranges associated with sibilant sounds. By isolating these frequency ranges and attenuating them as necessary, de-essers are able to smooth out harsh or overbearing sounds and improve the overall clarity and intelligibility of the audio signal.
It’s essential to use a de-esser correctly in order to achieve the best results. Overusing a de-esser can result in an unnatural sound, with certain consonant sounds being eliminated or turned down too far.
On the other hand, proper use of a de-esser should result in a smoother and more pleasant listening experience, with sibilant sounds being reduced or eliminated without affecting the overall clarity and intelligibility of the audio signal.
Several de-esser plugins are available, each with its unique set of features and controls. Most de-essers offer similar controls, such as frequency range, threshold, amount of attenuation, and sidechain filtering. The most popular de-essers also provide two separate compression modes: wide-band and split-band.
Types Of De-Essing
Wide-band
Wide-band mode lowers the entire audio signal when sibilance is detected and is best suited for use with a single vocal recording. This mode produces a smooth, natural sound that is more transparent than split-band processing.
Use Wideband mode for subtle de-essing on a single vocal track or when you don’t want to introduce a crossover in the processing chain.
Split-band
Split-band mode uses a sidechain high-pass filter to split the signal into high and low frequency bands. Attenuation rendered by the SideChain is applied only to the high frequencies, while low frequencies remain untouched.
Split-band mode is best suited for de-essing full mixes, bus groups, or complex audio material.
Split mode offers precise and powerful de-essing for mixed tracks. It is generally best to use the Split mode if you need to de-ess a track that contains both instruments and vocals.
How To Use A De-Esser
you don’t necessarily need to spend a lot of money on de-esser plugins to achieve a professional sound. Many de-esser plugins are available on the market, both paid and free, each with its unique features and capabilities.
These plugins can be handy as they will speed up the de-essing process and allow you to approach sibilant sounds in a more fine-tuned manner.
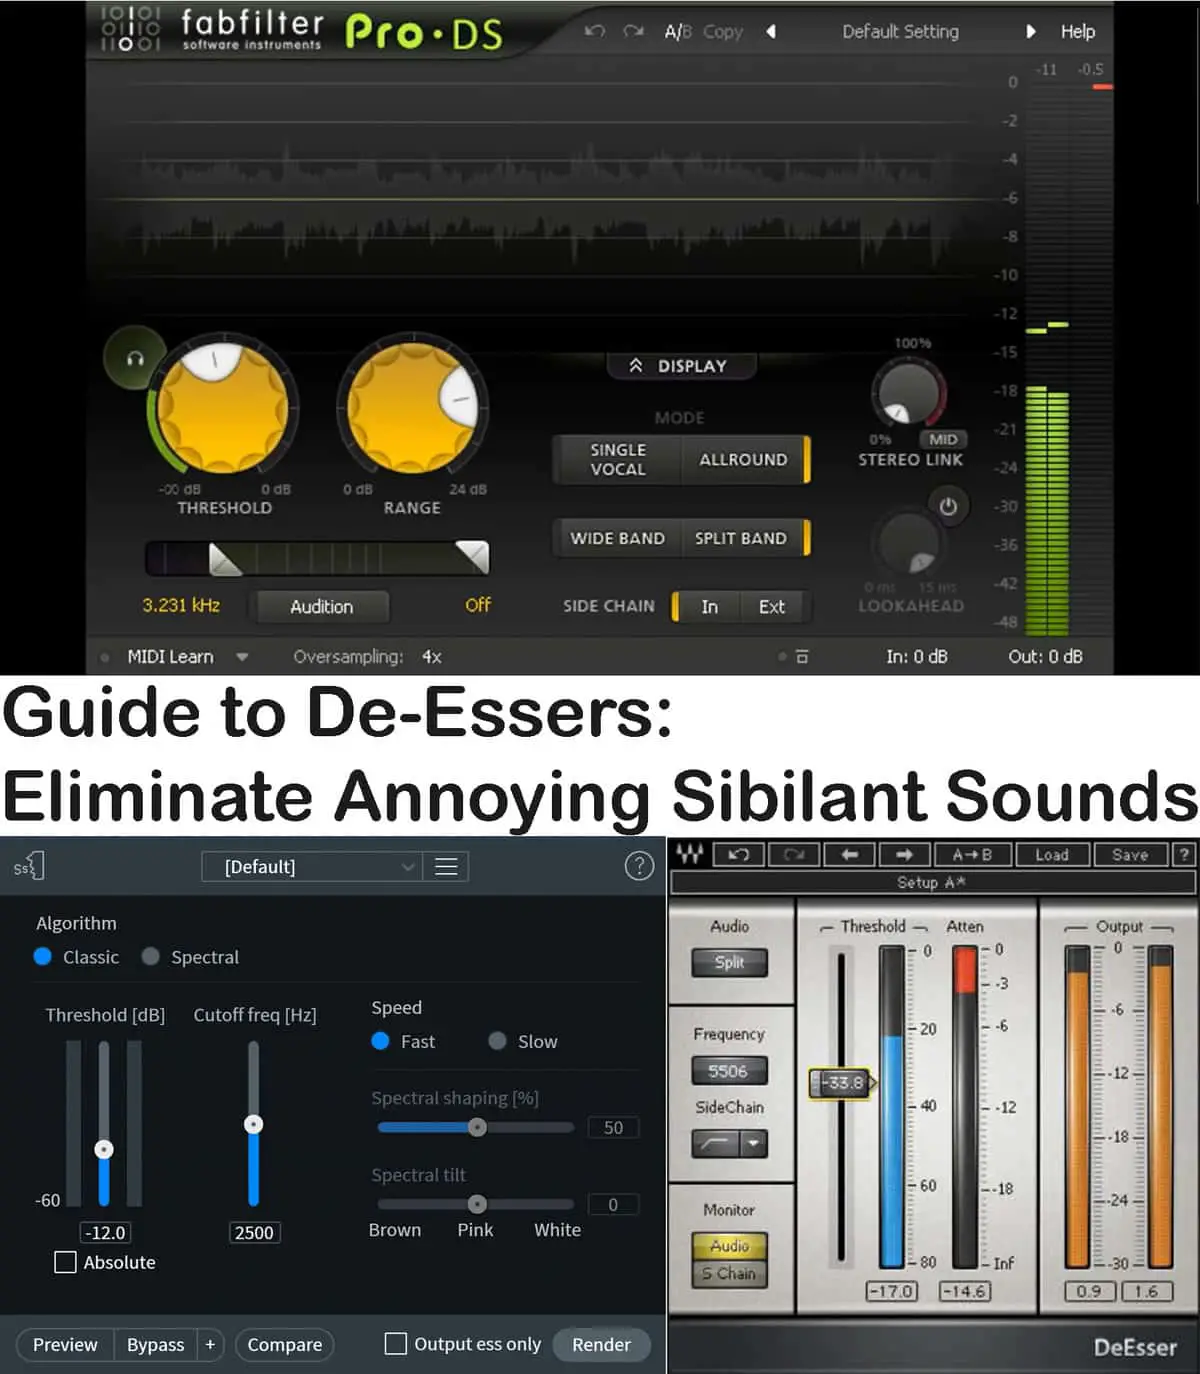
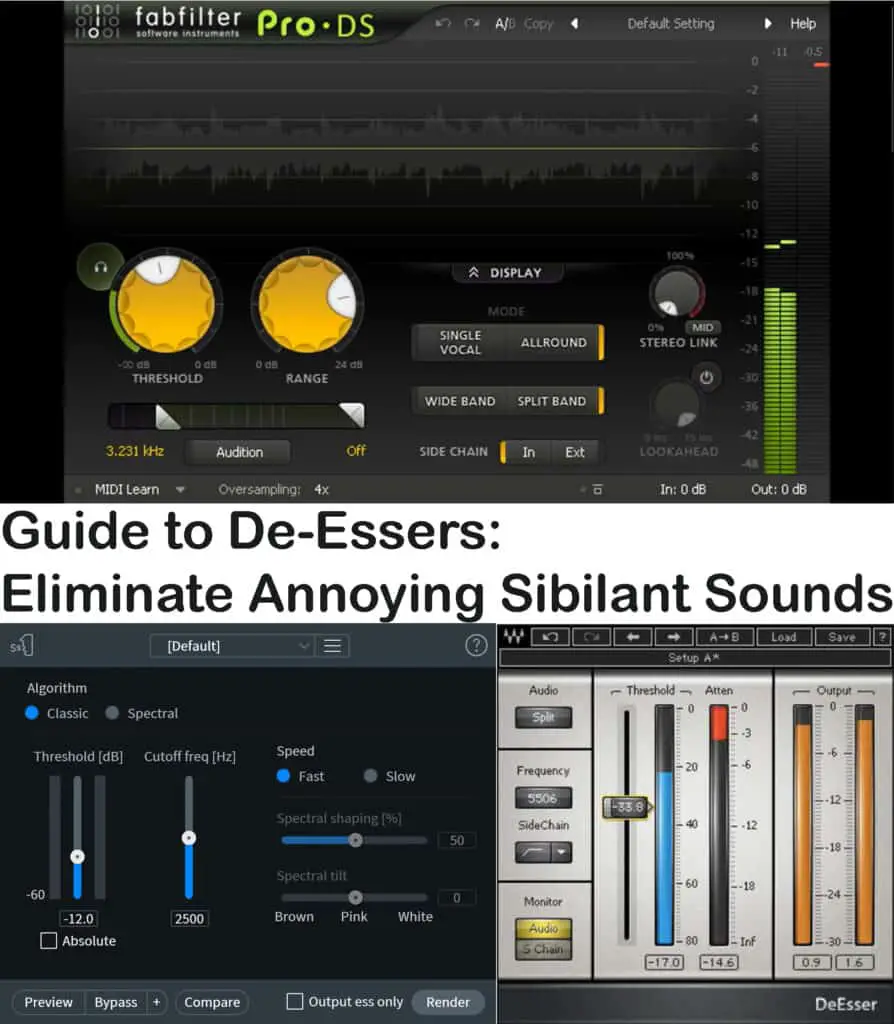
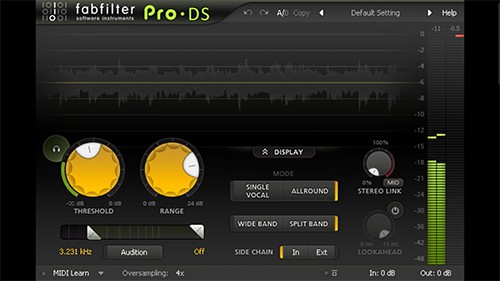
In this walkthrough, I used a popular de-esser: FabFilter Pro-DS.
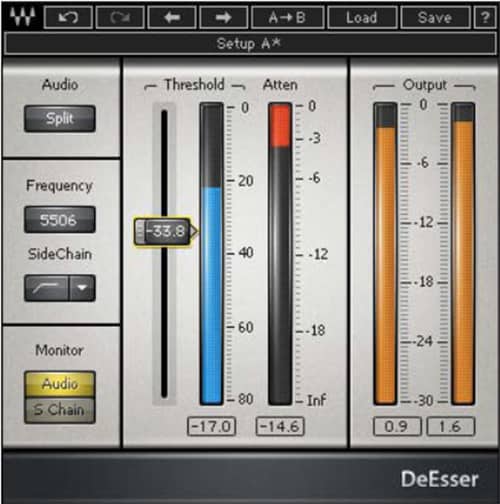
Waves DeEsser is another common one.
However, it’s worth noting that most digital audio workstations (DAWs) come with their own stock de-esser plugin, which likely has most of the same parameters as other de-esser plugins. That said, Ableton does not come with a stock de-esser.
If you have vocals, you will likely need to use a de-esser plugin in your mixes, especially if you boost the higher frequency bands in your vocals. That said, a de-esser doesn’t necessarily have to be used for vocals. More on that later.
To get started using a de-esser, you will need to add it to the signal chain.
1. In your DAW, Insert a de-esser on the track you are editing.
It is common to place the de-esser at the beginning or end of the effects chain or in both locations.
2. Find the Sibilant Frequencies
Listen for unpleasant sibilant sounds and set the frequency range to isolate the involved area.
One of the key features of most de-esser plugins is the ability to choose the center frequency to focus on. This frequency is the one that has the most sibilant sounds, and it is typically located somewhere between 5 kHz and 9 kHz, though it can sometimes extend up to 11 kHz.
In male voices, sibilance is often lower, somewhere between 5 kHz and 6 kHz, while in female voices, it is often between 7 kHz and 8 kHz.
However, it’s important to note that the location of sibilant sounds can vary based on factors such as the singer, mic placement, type of microphone, and recording environment.
If you are looking for a good USB microphone, check out this article.
You can use a few different techniques to determine where most of your sibilant sounds are located. Many de-esser plugins have a “Listen” or “Audition” button that allows you to solo the center frequency, which can help move the frequency around and identify the most sibilant sounds.
Alternatively, you can use an EQ plugin with a real-time waveform display to look for peaks in the waveform when sibilant sounds occur.
The FabFilter Pro-DS de-esser is slightly different than most other de-essers. To start, you can use the Range knob to select the desired range where you want the gain reduction to occur. You can then use the Threshold knob to determine how loud the sibilant sounds need to be before gain reduction occurs.
The “Audition” button, located at the top left of the Threshold button, is a helpful tool for hearing which parts of your audio the de-esser is working on and ensuring that it is only catching the necessary sibilant peaks without triggering any other parts of the vocals. By sliding the range closer to 8 kHz, for example, you may realize that this is where most of the unbearable sibilant sounds are located, rather than at 6 kHz as you initially thought.
3. Set The Threshold
Adjust the threshold to set the level at which attenuation takes place. The de-esser should only activate when sibilant sounds exceed the threshold, and if it activates when sibilant sounds are not present, your threshold is too low.
4. Set The Range
Adjust the range to select the amount of de-essing that is utilized. The range control regulates the detected gain reduction to stay within the desired span. A range of 3 dB to 10 dB of gain reduction is often a good starting point, but the exact amount will depend on the amount of sibilant sounds present in the audio signal.
5. Choose either wide-band or split-band mode
When using Wideband mode, the de-esser will reduce the level of the entire audio signal when sibilant sounds are detected. On the other hand, split mode only targets the high frequency signals and reduces their level when sibilant sounds are detected, leaving the low frequency signals unaffected.
Note: Some de-esser plugins may also have additional controls, such as a monitor switch, lookahead, stereo linking, and more. Experiment with these controls to fine-tune the de-esser’s behavior and achieve the best results.
The FabFilter Pro-DS has more controls. They have a video that describes how to use these controls:
De-Essing Tips
Use of Wide-Band De-Essing
There are two main types of de-esser processing: wide-band and split-band. Wide-band de-essing is where the plugin reduces the overall level of the audio signal when it detects sibilant sounds.
Split-band de-essing, on the other hand, is more momentary and involves equalizing the audio signal and altering its timbre for just a moment before the frequencies return to their original state rather than reducing the overall level.
One potential drawback of split-band de-essing is that it can make it difficult to know how to proceed when using other processors, such as EQs, as the split-band de-esser is constantly changing based on different consonant sounds.
In contrast, wide-band de-essing is generally easier to work with, as it does not alter the timbre of the audio signal in the same way. However, split-band de-essing can be helpful in certain situations, such as when you heavily boost high frequencies on vocals and need a dynamic form of EQ to control sibilant sounds.
Use Multiple De-Essers
Don’t Hit Your De-Essers Too Hard. Be careful when using de-essers to avoid overprocessing your audio and giving your singer a lisp. Instead of applying heavy-handed de-essing that might severely affect the sound of your vocals, try using multiple instances of de-esser processing in series to create a cumulative effect for a more natural sound.
This approach can be more effective than using a single de-esser plugin and applying too much attenuation to your vocals.
For example, you might use one de-esser plugin to target sibilant sounds around 6 kHz and another de-esser plugin to address frequencies in the 9 kHz range. By using multiple de-essers in this way, you can achieve a more subtle and transparent de-essing effect that preserves the natural character of your vocals.
Be Dynamic In Your Use Of De-Essers
Don’t Use The Set It And Forget It Approach. The human voice is highly dynamic, meaning that even a single voice can change dramatically from syllable to syllable. This means that it is unlikely that a de-esser will act consistently throughout a performance.
Your singers may move closer to the microphone or use a different mouth position on specific phrases, which can affect the quality of sibilant sounds.
As a mixing engineer, it is necessary to use automation to get the most natural sound from your de-esser. This might involve bypassing the de-esser during certain portions of the vocal and engaging it at other times or adjusting the parameters of the de-esser when the singer reaches specific phrases.
Automation is a powerful tool that can help you fine-tune the de-essing process and achieve a more transparent and natural-sounding result.
Use a De-Esser for Vocal Effects
When working with vocals, you may choose to send the audio to various effects processors such as saturation, distortion, reverb, or delay. In these cases, consider de-essing the vocal once more on the send before it reaches the effects processor.
Bright vocals with a lot of sibilant sounds can sometimes be too much for effects processors like reverb or distortion, and these consonants can draw too much attention to themselves when they are processed.
To avoid this issue, you can use a de-esser before the audio hits the effects processor to reduce the level of sibilant sounds and allow the lead vocal to take over in that frequency range. In the example provided, using a de-esser before the reverb almost completely removes sibilant sounds, resulting in a smoother and more natural-sounding mix.
De-Essing Techniques For Instruments
De-essing is a useful technique for treating vocals and taming harsh, high-frequency sounds on various audio tracks, such as instrument tracks, drums, bus groups, or even your whole mix. Here are five strategies of how de-essing can be used to improve other elements in the mix besides the vocals
Taming harsh percussion brightness
Cymbals, hi-hats, rides, and high-frequency percussion instruments can often sound harsh and overly bright. Using split-band de-essing can help tame these intense spikes without affecting lower frequency sounds like the kick or toms.
Reducing harsh synth brightness
Digital synthesizers can often produce bright, high-frequency sounds that can be harsh or unpleasant. De-essing can help smooth out these extreme spikes and make the synthesizer sound more natural.
Reducing guitar harshness
Compressing a guitar recording can amplify fret and string noise, which can be unpleasant to listen to. Using a split-band de-esser can help attenuate this noise without affecting the guitar’s overall tone. Electric guitars can sometimes produce harsh high-frequency sounds that can be tamed with a wide-band de-esser.
Reducing harshness on bus groups
When mixing multiple audio tracks together, it can be helpful to use de-essing on the bus group to smooth out harsh high-frequency sounds. This can help create a more cohesive and balanced mix.
Reducing harshness on entire mixes
De-essing can be used on the master output to tame any remaining harshness in the mix and create a more polished and professional-sounding result.
Alternatives To A De-Esser Plug-In
Manual De-Essing
Manual de-essing is a technique used to reduce or eliminate sibilant sounds in audio recordings manually.
In addition to using a de-esser plugin, manual de-essing, which involves attenuating sibilant sounds by hand using gain automation or clip gain, can also achieve a more natural sound.
This method is more time-consuming than using a de-esser plugin but can result in a more natural sound by allowing the engineer to treat each sibilant sound individually.
To manually de-ess, the engineer can look for sibilant sounds in the waveform and separate them from the rest of the clip before lowering the gain. Some engineers also place sibilant sounds on a separate track for easier processing.
This method allows for greater control over the level of sibilance in the mix and can be helpful when dealing with sibilant sounds that are difficult to tame with a de-esser plugin.
Dynamic EQ
A dynamic EQ is an equalizer that adjusts the level of certain frequencies based on the input signal. It works by setting a threshold for each frequency band and applying a boost or cut to that band when the signal exceeds the threshold. This allows the EQ only to affect certain frequencies when needed, rather than constantly cutting or boosting them like a static EQ.
Dynamic EQs can be useful for taming harsh sibilant sounds in vocals or for fine-tuning the balance of frequencies in a mix. They offer more flexibility than de-essers, which are specifically designed to attenuate sibilant frequencies, as dynamic EQs can target any frequency range and offer a choice of filter types.
Conclusion
De-essers are a valuable tool for controlling sibilant frequencies in vocals and other audio recordings. They work by isolating and attenuating a specific frequency range when it exceeds a set threshold. De-essers can be used to improve the overall quality and clarity of a recording by smoothing out harsh or distracting sibilant sounds.
There are two main types of de-essers: wide-band and split-band. Wide-band de-essers lower the entire audio signal when sibilance is detected, while split-band de-essers use high-pass sidechain filtering to split the signal into high and low frequency bands, only attenuating the high frequencies when sibilance is detected.
In addition to using de-essers, manual de-essing techniques such as gain automation or clip gain can also be used to control sibilant sounds. Dynamic EQs, which allow for more precise frequency control, can also be used to address sibilant sounds in a recording.
Using de-essers and other techniques effectively makes it possible to achieve a smooth and natural sounding vocal recording.
