Whether you’re a seasoned music producer, a budding podcaster, or simply stepping into the world of home recording, understanding the intricacies of an audio interface is crucial to achieving the sound quality you desire.
One of the fundamental controls on any interface is the ‘gain,’ a term that might seem technical and elusive to newcomers. However, knowing how to correctly set and manipulate gain can drastically improve your audio output, paving the way for professional-grade recordings right from your home studio.
This article aims to clarify the concept of gain on an audio interface, explaining what it is, why it’s so important, and how to correctly adjust it to optimize your recordings.
We’ll review specific examples, like setting the gain on popular Focusrite devices. By the end, you’ll have an all-around understanding of gain that will elevate your recording and mixing skills to new heights.

What Does Gain Mean On An Audio Interface?
In audio, “gain” refers to the level of amplification that’s applied to an input signal. When you adjust the gain on an audio interface, you’re controlling how much the interface amplifies the signal that it’s receiving from a microphone or instrument before it gets converted to a digital signal.
It’s a critical setting because it impacts the quality of the sound that gets recorded. If the gain is too low, the signal will be too weak, and you’ll end up with a recording that’s too quiet, or that lacks detail.
On the other hand, if the gain is too high, the signal can get distorted because it exceeds the maximum level that the audio interface can handle, a phenomenon known as clipping.
Note that gain isn’t the same as volume. While both involve making a sound louder, volume usually refers to the level of the sound that’s outputted to speakers or headphones, while gain refers to the amplification of the input signal.
What Should The Gain Be On My Audio Interface?
The appropriate gain setting on your audio interface will depend on a few factors, such as the type and loudness of the source you’re recording and the specifications of your microphone or other input device.
However, there’s a general process you can follow to find the right gain setting:
- Start with a low gain setting: Begin with the gain knob turned down low, then gradually turn it up.
- Monitor your levels: As you increase the gain, watch the level meters on your audio interface or recording software. You’re aiming for the strongest signal you can get without causing clipping. Clipping occurs when the signal is too strong and distorts the sound. It’s usually indicated by the level meters going into the red zone.
- Listen for noise and distortion: In addition to watching the level meters, use your ears. Listen through headphones as you adjust the gain. If you start to hear distortion or noise, turn the gain down until those unwanted sounds disappear.
- Consider the dynamics of the source: If you’re recording a source with a wide dynamic range (like a singer who goes from whispering to belting), you need to set your gain so that the loudest parts don’t clip. This might mean that the quieter parts end up a bit low, but it’s generally easier to boost a quiet signal in mixing than it is to fix a clipped signal.
Every recording situation is different, and what works best will depend on your specific equipment and the sound you’re trying to capture. It might take a bit of experimentation to find the ideal gain setting for your needs.
How High Should Gain Be On a Focusrite?
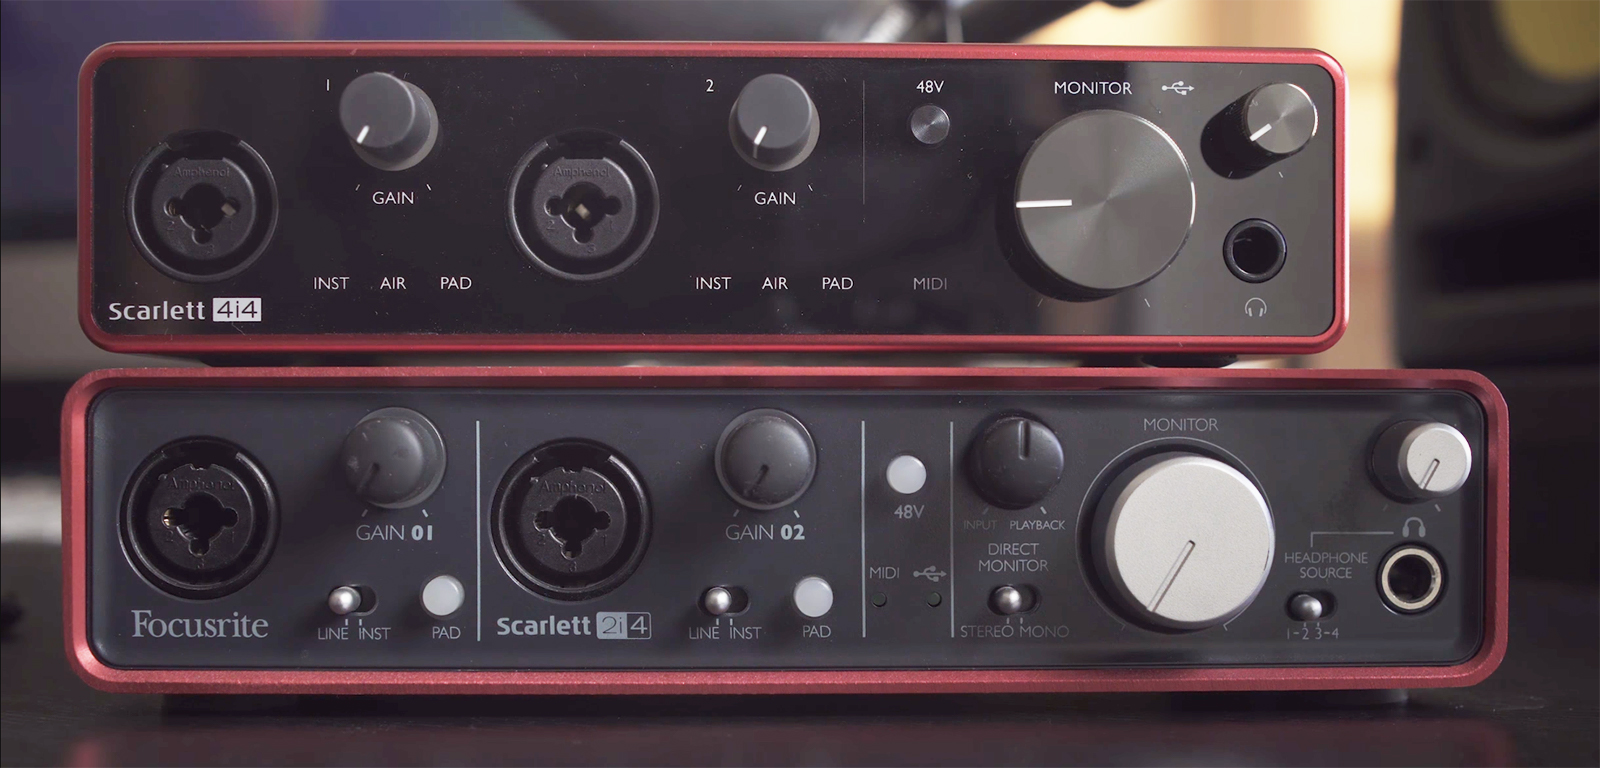
Focusrite is a popular brand of audio interfaces, and the process to set the gain properly on these devices is very similar to what I mentioned earlier. However, there are more specific steps for setting the gain on a Focusrite interface:
- Connect your microphone or instrument: Plug your microphone or instrument into the appropriate input on the Focusrite interface.
- Set the gain to zero: On the front of the interface, you’ll see a knob for each input. This is the gain control. Start by turning it all the way down.
- Start recording and gradually increase the gain: Begin playing or singing at the typical loudness you plan to record at, and slowly turn up the gain.
- Watch the halo meter: One unique feature on many Focusrite interfaces is the halo meter around the gain knob. This LED indicator changes color based on the input level:
- Green means you’re getting a good level.
- Yellow or orange indicates that the signal is getting close to clipping.
- Red means the signal is clipping and you need to turn down the gain.
Ideally, you want to see the halo meter light up green most of the time, with occasional flashes of yellow or orange at the loudest parts. If you see red, turn down the gain until you’re back in the green and yellow range.
These are guidelines, and your mileage may vary depending on your specific recording situation. It’s always a good idea to do a few test recordings and listen back to ensure you’re happy with the sound before you start your main recording session.
Conclusion
As we draw this to a close, it’s clear that the understanding and manipulation of gain is far from an intimidating technical hurdle.
Instead, it’s an essential skill that can drastically enhance the quality of your audio recordings, irrespective of whether you’re capturing the subtleties of a musical instrument, the dynamism of a vocal performance, or the richness of a spoken word podcast.
We’ve broken down the concept of gain, explored its importance, and walked through the process of correctly adjusting it on your audio interface. We’ve even dived into specifics with popular devices such as those from Focusrite.
Finding the perfect gain setting involves a balance of monitoring your levels visually and trusting your ears. It’s a blend of science and art, a journey of continuous learning and experimentation.
Keep these guidelines in mind, venture forth into your audio projects, and witness how the effective use of gain can significantly elevate your recording sessions.
Here’s to producing cleaner, crisper, and more professional sounds in all your future endeavors!
